≡ Menu

The Secrets of Pressure Washer Maintenance for Smooth Running

Pressure Washer Maintenance

Pressure washers are the things you need if you are looking for easy cleaning tools that will really change the look of your home. Using proper maintenance can be crucial for the performance of your equipment and saving money in the long run.

Here are a few tips that you can use to keep your machine running smoothly.

Pressure washer pump maintenance

Maintaining your washer pump is the easiest task. You just have to make sure that there is no filth and the oil is changed on a timely fashion. To remove dirt and filth simply clean the water pump by flushing.

The average time after which you should change the pump oil is 50 hours or you could just follow the instructions of your manufacturer.

Shop Pressure Washer Maintenance Kits

Changing oil in the pressure washer engine

Before each use, check the oil color to see if it’s dark or not. If it gets too dark, you need to change it in order to maintain the performance, or you could just change the oil after every 50 hours of use.

Cleaning the screen filters

Keeping the screen filters clean is very crucial. The screen filters stop dirt and other foreign material from entering your pressure washer. Regularly check to see if the filter is dirty or damaged. Clean dirty filters by washing with water and replace if damaged.

Generally, after every four hours of use the filters should be cleaned and after every 100 hours or 3 months of use they should be replaced. If the screen filters are dirty or damaged your pump may get blocked and your washer won’t perform as well as it should.

Shop Pressure Washer Maintenance Kits

Check the high pressure hose and O-ring

Inspect the high pressure hose carefully and try to find leaks or cuts. Leaks or cuts can cause water to leak which will reduce the overall pressure of the washer. Without adequate pressure, the washer will not be able to clean properly.

Like the high-pressure hose, O-rings can also start to leak due to prolonged usage. The leaked pressure hose and O-rings cannot be repaired and so replacing them is the best idea.

Shop Pressure Washer Maintenance Kits

Spray gun and nozzle

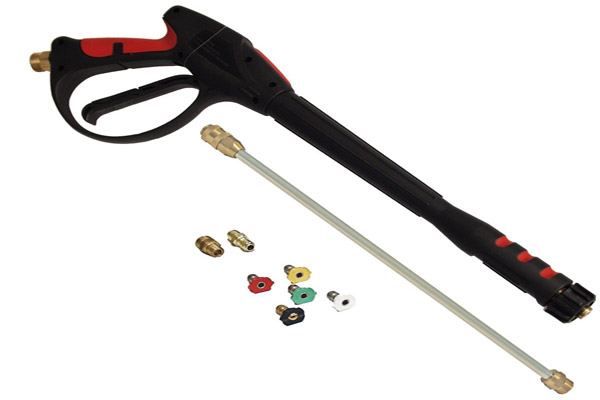
The spray gun and nozzle need to be checked for wear and tear. Pull the trigger of the spray gun to see if it returns to its original position. This ensures that the spray gun is working properly. If it doesn’t return to the original position consider replacing it.

The nozzle is required for cleaning different types of surfaces. Check to see if the nozzle is blocked. If it is blocked consider changing it immediately because a prolonged blockade might damage the nozzle permanently.

Without proper knowledge about the machine and the different parts, it might be hard for you to separate the parts and clean them.

But don’t worry it’s not too hard to learn. Just ask the advice of someone who knows about it or take a look at the instructions manual.

Proper maintenance is hard work but it’s worth all the trouble in the end. With good maintenance, your machine will run smoothly for many years to come.

Shop Pressure Washer Maintenance Kits

Helpful Videos

Pressure Washer Water Pump Oil Change

How To Perform Pressure Washer Maintenance


Swimming Pool Cleaning Techniques – Easy and Effective Way

Pools require regular maintenance so that they are always ready for use. Homeowners can do their own swimming pool cleaning and save money by not having to hire a pool cleaning service.
It is important to know how to clean your pool properly, what the tools are and how to use them.

There is a learning curve, but the process is not nearly as cumbersome as most people think. When you keep your pool clean, you will have a pool that is always ready for use and you will keep your pool in good condition long-term.

Quick Navigation

[su_row class=””]
[su_column size=”1/1″ class=”toc-box”]

[/su_column]
[/su_row]

How to Clean a Swimming Pool?

1. When it comes to swimming pool cleaning, the most important part is the pool’s filter. This device is constantly working to pull impurities from your pool and they contain cartridges that you must change on a regular basis to ensure optimal function and to prevent clogging.

2. At least once a week, you want to give the water in your pool some attention by using a skimmer and a vacuum to clean the pool surface and remove debris from the water. In fact, any time you see things like leaves in the water, use a skimmer to remove them so that they do not get stuck in the pool filter.

3. On a weekly basis, take your brushes and brush the tile and the walls of your pool. This prevents the accumulation of mildew and minerals, but of which can compromise the integrity of your pool.

4. Keep an eye on your pool’s water level because you do not want it to fall below the skimmer level. If the water level gets too low, this can cause problems with the pool’s pump. It is also a good idea to leave water in your pool throughout all four seasons to prevent structural problems.

5. Your pool water pH should be checked regularly to ensure that the chemicals in the water are balanced. You will use pH strips and you should have a pH between 7.2 and 7.8 at all times to ensure that the water is safe for swimmers. You also need to check chlorine levels to ensure that they are safe. Read more here about pH level and c

6. Make sure to give some attention to the area surrounding your pool as well. You can use a pressure washer once a month during the months that you use your pool to prevent staining around the rim of your pool. You can also use a pumice stone to remove difficult stains.

Guide to Swimming Pool Cleaning Equipment

Pool Cleaning Equipment

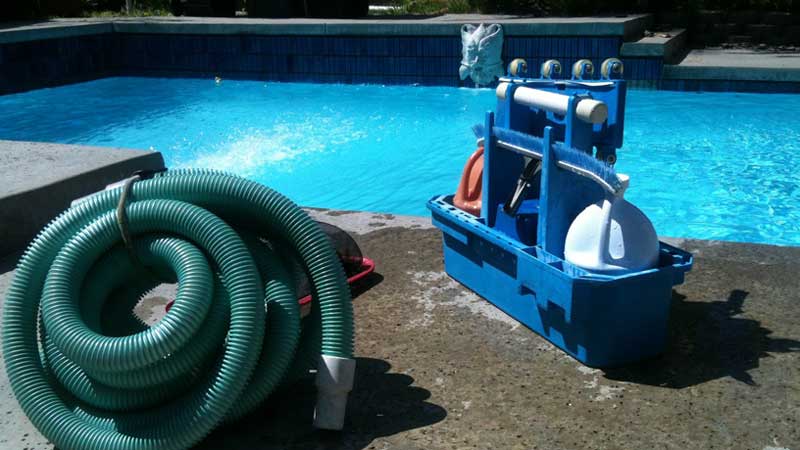
There are several tools that you use to keep your swimming pool clean and ready for use. Understanding what these tools are for will allow you to easily use them correctly when you are performing swimming pool cleaning.

The following tools are commonly used:

Telecopic polesTelecopic poles

You can attach various cleaning tools to a telescopic pole so that you can clean your pool without getting in because it extends your reach.
Vaccum headVacuum heads

A good vacuum head ensures that you can clean the bottom of your pool to prevent the accumulation of debris and other impurities.
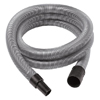
Vacumm hoseVacuum hose

You can vacuum your pool like you vacuum the carpeting in your home. This removes debris from your pool quickly so that you do not have to do it manually.
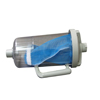
Leaf trapLeaf trap

Leaf traps easily remove leaves, bugs and other larger debris from the surface of your pool.
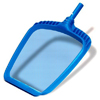
Skimmer netsSkimmer nets

Using a skimmer net allows you to skim the surface of your pool to remove debris.
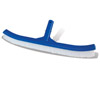
Pool brushPool brushes

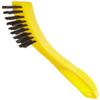
This brush allows you to remove things like mildew from your pool walls.
Tile brushesTile brushes

Since pools contain water, you need to regularly clean your tiles to remove mildew and other impurities from the tiles.
pumice stonePumice stone

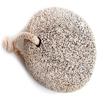
You can use a pumice stone to remove things like rust, mildew, mineral accumulation and hard water stains.
Suction sweeperSuction sweeper

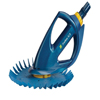
A suction sweeper uses suction to pull impurities and debris from your pool.
Pressure washerPressure washer

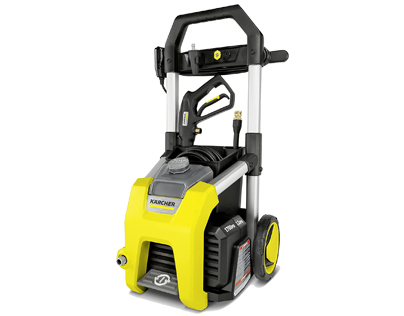
A pressure washer allows you to use water at high pressures to remove stains and other impurities on the surface of your pool and the surrounding area.

Swimming pool cleaning is actually quite easy and now that you know what to do, you can add the task to your weekly chore list. Just make sure that you read the owner’s manual for any equipment to ensure that you are performing the right care at the right type.

You also need to ensure that you are using all swimming pool cleaning equipment properly so that you get the best results.

When you are cleaning, if you run into a maintenance issue that you are unable to tackle, such as needing a new pump installed, call a professional just to ensure everything goes right.
Swimming Pool

Useful Videos on Swimming Pool Cleaning


Grout Cleaning Tips that Really Work

Grout Cleaning Tips

[lmt-post-modified-info]

When you have grout in your home, you have to pay special attention to it to keep it clean and ensure that it maintains its integrity. Cleaning grout properly requires the right cleaner and the right technique. There are some grout cleaning tips that you must use to ensure that you remove all staining and dirt that is distorting the color of your grout.

Regular cleaning will prevent dirt from building up so that when you go to clean your grout, the process is easy and something you can do without a major time investment.

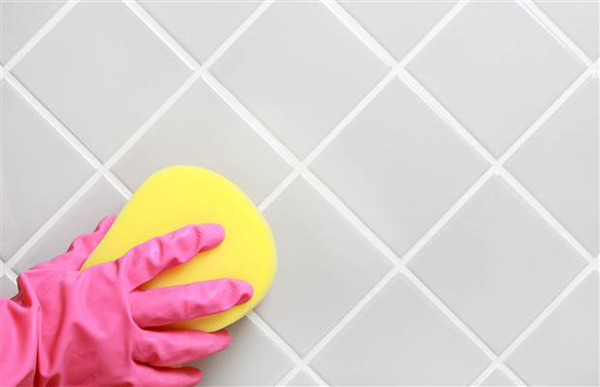
Grout cleaning

Grout is porous and this means that it can easily get stained and not look clean and new. You can apply a grout sealer to reduce how often you need to clean it, but it still has to be cleaned regularly with a sealer.

The right grout cleaning tips are universal and will work on grout, whether it is sealed or not, and the three primary types of grout, which include:

  • Flooring grout
  • Resin grout
  • Epoxy or cement-based tiling grout

Using the Right Products to Clean Grout

Using the Right Products to Clean

There are a variety of products that can effectively clean the grout in your home. If you prefer a more natural cleaner, you can clean grout with vinegar.

It is best to add some baking soda to the vinegar to add a bleaching agent. Mix the two together so that you can a paste-like material.

Be aware that you need to slowly create this mixture to reduce the bubbling that occurs when the two are mixed. Use your chosen tool to scrub in a circular motion when you use this mixture.

Commercial grout cleaners are necessary when grout is very dirty or deeply stained. It is important that the commercial cleaner that you choose is properly pH-balanced so that it cleans the grout without compromising its integrity.

If the cleaner is not pH-balanced, it will erode the grout every time that you use it. With this type of cleaner, you should apply it to the grout that you are cleaning, let it sit for about five minutes and then start the scrubbing process.

Generic household cleaners can be used for grout that is mildly stained or dirty. This includes things like floor cleaners or oxygenated bleach.

Simply apply this type of cleaner to the grout you are cleaning and use the right tool to scrub the grout. You usually have to mix the cleaner with water to dilute it before use.

Exploring the Best Way to Clean Grout

Exploring the Best Way to Clean Grout

Now that you know the best cleaners to use for grout, you have to choose the best grout cleaning tool. If your grout is only mildly dirty, a soft-bristled grout brush is generally enough to get everything clean.

You simply use the brush along with your chosen cleaner and scrub the grout. Rinse everything with plain water when you are done.

There are grout brushes with stiffer bristled that you can use if soft bristles are not enough to fully remove the dirt and stains. When you use this type of brush, make sure to only use it on areas that are severely stained or dirty. This is because the stiff bristles can break down the integrity of the grout over time so you want to minimize their use whenever possible.

To remove random stains on your grout, you can use a basic adult toothbrush. This is only ideal for small areas of staining or spot cleaning.

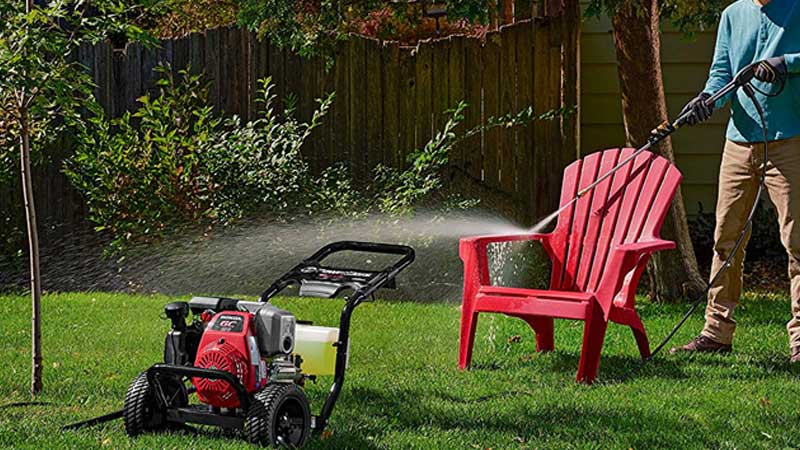
Using a pressure washer is another option you can use for cleaning grout on a tile floor or cleaning shower grout. This is a good option when you have staining and dirt that is not coming up with the other tools that you are using.

Use a narrow nozzle so that all of the pressurized water is focused on the grout lines that you need to clean.

You can add a cleaning agent to the pressure washer so that you can pressurize the cleaning agent for the best results. If you choose to do it this way, simply remove the cleaning agent to rinse the grout with plain water when you are done.

You can use plain water, however, and this is often enough to fully clean all types of grout.

Make sure to always use these grout cleaning tips when you are cleaning the grout throughout your home. They ensure that you are able to clean effectively and efficiently. You do not want to let stains build up because this will take you hours to rectify.

Ideally, you want to clean your grout about once a month to prevent staining and to keep it clean. Regular cleaning will also help to keep your grout in good shape so that you do not have to re-grout anything in your home on a frequent basis.

Related Cleaning Tips:


Things to Consider to Rent a Pressure Washer

Rent Pressure Washer

When you decide to rent a pressure washer, you have to make sure that you choose the best one for the job. This is a relatively simple process and there are just a few key points that you need to address.

As long as you abide by all of these, you will quickly get your pressure washer and complete the job.

Picking the Right Pressure Washer Grade

The first thing that you need to do is decide the level of power that you need for the job. A consumer pressure washer has the least power averaging 1,000 to 4,900 PSI and it only puts out cold water. A prosumer pressure washer averages 1,000 to 4,900 PSI and only puts out cold water.

Both of these differ when it comes to the cleaning units where the prosumer type has 2,000 to 16,000 cleaning units and the consumer has 1,560 to 16,000 cleaning units.

The professional type is the one with the most power at 1,000 to 7,000 PSI. It can also put out cold, warm and hot water, depending on what you need for the job.

Matching the Pressure Washer to the Job

Pressure Washer Job

The different grades of pressure washers are meant for different jobs. Consider the following when you go to rent a pressure washer:

  • Consumer pressure washer: A consumer type of pressure washer is not for everyday use because they have a consumer-grade pump.
    You would rent this type of pressure washer when you need to do a quick job of cleaning your siding or doing a once weekly

    car wash

    .
  • Prosumer pressure washer: The prosumer type of pressure washer is best for those who need to use it more often to keep their property clean.
    For example, if you want to pressure wash your deck and car two to three times per week, this is the best option.
  • Professional pressure washer: If you need to rent a pressure washer to use for many hours on a daily basis, you want to choose a professional type.
    It will not burn out with regular use like a consumer or prosumer pressure washer may do.

Gas vs. Electric

If you have smaller jobs to do, an electric pressure washer will work fine for you. Compared to gas models, these tend to be lighter and easier to handle. If you have some heavy-duty work to get done, you want to look into a <a “https:=”” www.pressurewashertoday.com=”” gas-pressure-washer=”” “=”” target=”_blank”>gas pressure washer.

Since these do not have a cord like the electric type, these also tend to be easier to move around.

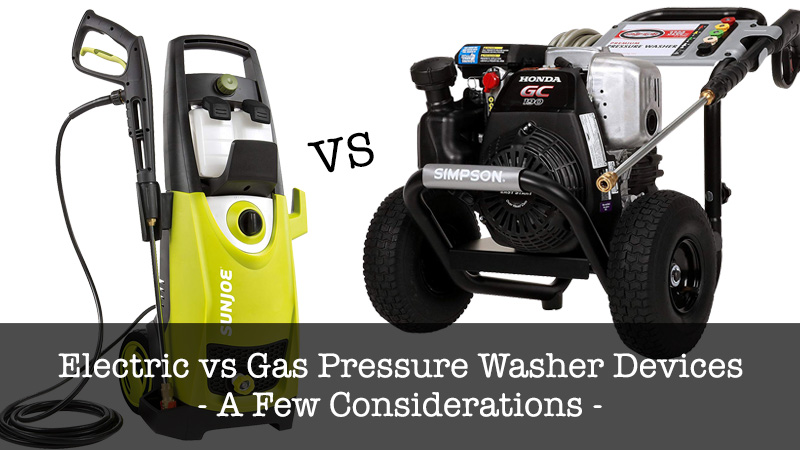
You can also read Electric vs Gas Pressure Washer Devices – A Few Considerations

Once you know which type of pressure washer you need, make sure that you rent a pressure washer from a reputable company. This ensures that the equipment is well-maintained and current so that it works flawlessly.

Look at the company’s reputation and ask friends if there is a company that they will recommend to make sure that you will rent a solid piece of equipment.


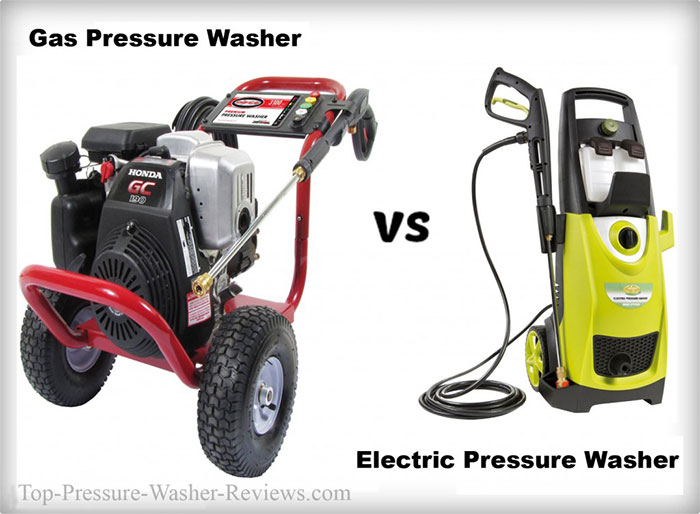
Electric vs Gas Pressure Washer Devices – A Few Considerations

Electric vs Gas Pressure Washer

If you’re about to purchase a pressure washer but don’t know which type is best for you, here are a few things you should know about electric vs gas pressure washer devices. Read on the pros and cons of each unit type and choose the one that will satisfy your cleaning needs.

The Electric Pressure Washer

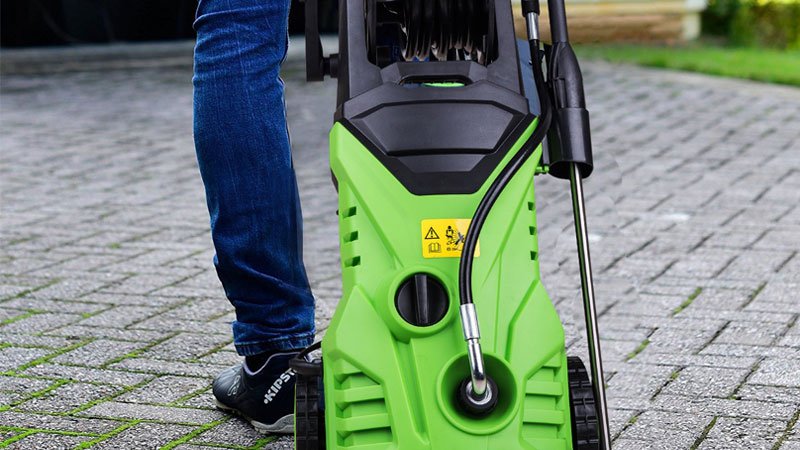
Electric Pressure Washer
  • This type of pressure washer is powered by electric current. You just need to plug it into a power source and start spraying. This pressure washer can deliver between 1300 and 2000 psi(pounds per square meter) and is ideal for indoor use or small jobs.
    It can deliver a lot more power than a garden hose even with a special nozzle attached, but in the “electric vs gas pressure washer” battle, it remains the least powerful.
  • One of the main advantages of electric power washers is that they are light and easy to use. While the power cord can be an obstacle at times, the fact that this device is electric powered means that it has less parts susceptible to breaking.
  • The electric power washer does not make and emissions, being an ideal cleaning partner for indoor use.
    However, since its power is relatively lower than that of the gas-powered units, it is suitable to smaller jobs such as cleaning your garage floor, car, alley pavement etc.
  • The electric pressure washer is also less expensive than the gas version and it is also quieter.

The Gas Powered Pressure Washer

Gas Powered Pressure Washer
  • In terms of electric vs gas pressure washer power, the latter is a better choice. The gas pressure washer can deliver 4000 psi or more, making it ideal for larger jobs and industrial use.
  • This device can be used in any cleaning application, from removing peeling paint to cleaning hardened dirt and debris from any surface.
    Because it is gas powered, it is also more mobile as you don’t have any power cords following you.


  • Now, let’s talk about gas vs electric pressure washer safety. The former emits gas residues, meaning that it cannot be used indoors if the area is not very well ventilated.
  • The gas power washer is also heavier than the electric variant, and it also costs more. This device also requires a lot more maintenance due to many movable parts, and it produces considerably more noise than the electric power washer.
Electric vs Gas Pressure Washer – Which One Is Best?

Electric vs Gas Pressure Washer

Depending on your needs, both pressure washer types are a good choice. The electric version is small, cheap and safe to use indoors, but is limited to small jobs due to its low power.

The gas pressure washer is heavier and more expensive, but pros use it since its power allows it to work in basically any situation.

So if you just need a pressure washer to clean your rooms or the fence and alley outside your home, then an electric model will do.

If you need more power and mobility or are offering professional services, then the gas-powered versions clearly win the electric vs gas pressure washer battle.

How To Paint A Deck Efficiently

Painting your deck can bring it new life, but when you are thinking about how to paint a deck, you must consider following all of the necessary steps. Deck painting is a process, but it is relatively simple. In fact, painting a deck is something that anyone can do.

You can do this over the course of a weekend because while there are several steps, the process is not particularly lengthy or difficult. Just make sure to follow all of the steps in order and you will have a deck that all of your neighbors are envious of.

Quick Navigation

[su_row class=””]
[su_column size=”1/1″ class=”toc-box”]

[/su_column]
[/su_row]

Protect Everything that is Nearby

You are going to be using cleansers, tools and other products, so you want to protect everything that is nearby so that it does not get damaged. A good quality plastic cover is generally sufficient for this.

Make sure that you cover all plants and any furniture and others items that you are unable to move from the area. You should move everything that is mobile, however, to protect these items and give yourself plenty of room to work.

Fully Inspect Your Deck and Make Any Necessary Repairs

Before you can paint your deck, you need to make sure that it is structurally sound. Start by doing a quick visual inspection of your deck to look for any areas that are in need of improvements. When you are inspecting your deck, look for and fix the following:

  • Damaged or loose screws or nails
  • Areas that have any mildew or mold
  • Loose boards
  • Broken or cracked boards
  • Warped boards
  • Any other structural problems
Deck Painting

Image Credit: Rosies Helping Hands

Take the Time to Clean Your Deck Thoroughly

After you are sure that your deck is in good condition, you want to take the time to clean is completely. Start by choosing a cleanser that works for the material of your deck. Read the label on the back of the cleanser container to ensure that you use is properly throughout the process.

You can scrub at stains to remove them since fresh paint may not stick well to areas of the deck that are stained. Once clean, wait until your deck is thoroughly dry to continue on with the process since you cannot paint a wet deck.

Strip Away All of the Old Paint and Prepare Your Deck for New Paint

Before you can apply the fresh paint, you need to first remove all of the old paint so that you can start with a clean surface. You want to scrape away the paint that is loose and then sweep this away.

For the paint that is not loose, you can use a gentle sander to remove it and prepare the wood. Sanding the wood first is a good idea because it gives you a clean slate and it makes the paint more likely to take to the wood so that it lasts longer.

Do the Painting Process on Your Deck

Painting Process

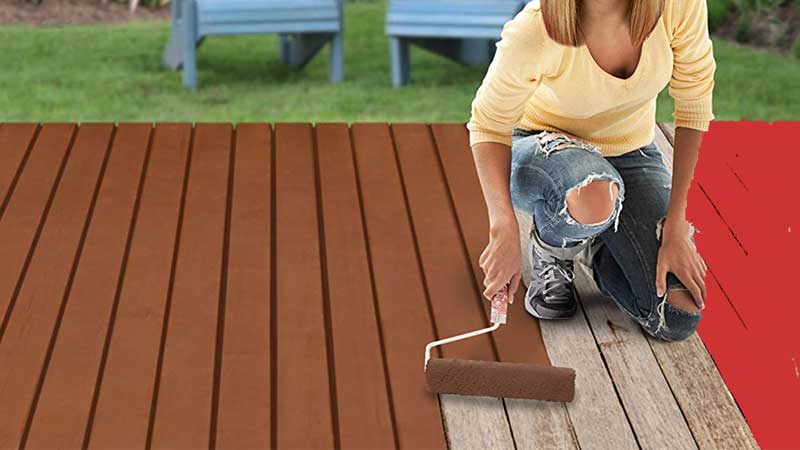
Once you get all of the preparation work done, it is time to go in and actually put the paint in your deck. Make sure that the paint you choose works for the material of your deck. You usually need two to three thin coats to get the best results.

After you paint your deck and it dries thoroughly, you can put a sealant on top to ensure that your paint job lasts for as long as possible. If you use a sealer, make sure that you use about two thin coats and only apply it after the paint you use dries completely.

Now you know what goes into how to paint a deck. Use all of the steps in the order that they are listed here and you can be sure that everything will go as smoothly as possible. Just make sure that any products that you use are appropriate for the material of the deck that you have. This will ensure that the paint job lasts for a long time.

When you paint your deck, you will find that the process needs to be done about once every two to three years. However, when you do the job right, you can often get more mileage out of your work.

Related Articles:


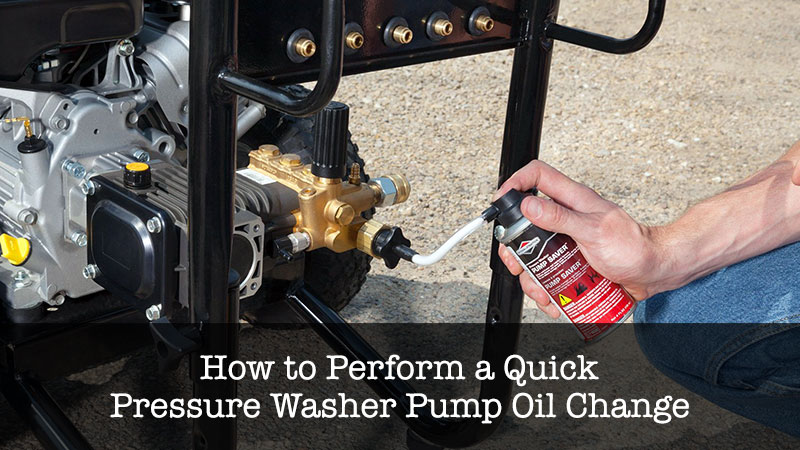
How To Perform A Quick Pressure Washer Pump Oil Change

Pressure Washer Pump Oil

Regular pressure washer maintenance is important to ensure that your equipment lasts a long time. One of the most important aspects of maintenance is performing a pressure washer pump oil change on a regular basis.
This is a relatively simple process so you should have no problem being able keeping up with it and maintain your equipment.

Changing the Oil On Your Pressure Washer

There are three main steps to complete to change the pump oil on your pressure washer. Make sure to always check the owner’s manual first to ensure that you are doing everything correctly for the exact washer you have.

Step One: Start by fully purging the pump to remove all of the contaminants. Remove the wand and turn the water supply on. Turn the engine on and then run the water for two minutes.

Step Two: Now that you have prepared the equipment for the oil change, it is time to remove the old oil. Start by draining all of the fuel and oil from the washer’s engine.

Use an Allen wrench to remove the water pump’s oil cap. Make sure that when you are draining these fluids you drain them into a container that is approved to hold them. You can tilt the unit to ensure that every drop of oil has been removed.

Step Three: Now it is time to put the new oil into the pressure washer. Use the owner’s manual to determine the type of oil you need and to ensure you put in the right amount.

Place the oil cap back on once you fully fill the reservoir with oil and clean up any oil that is visible around the cap. This completes the job and now you just have to properly dispose of the old oil.

You can also watch this helpful video:

Extending the Life of the Pump Oil

In addition to regular pressure washer pump oil changes, there is maintenance that you must perform before and after each use. This lengthens the life of the oil that you use to reduce the frequency in which you need to perform oil changes.
Before you use your pressure washer, perform the following:

  • Check the oil level and ensure that it is full
  • Make sure that all screen filters are in good shape
  • Inspect for oil leaks

After using the pressure washer, perform the following:

  • Always flush any residual detergent after use
  • Allow the engine to cool and do not let it get too hot during use

As long as you do the pressure washer pump oil changes on a regular basis as dictated in the washer’s owner’s manual, you will extend the life of your device.

Since you can do these on your own, there is no need to haul your pressure washer to a specialist to get the job done. This will save you a lot of time and money throughout the life of your equipment.

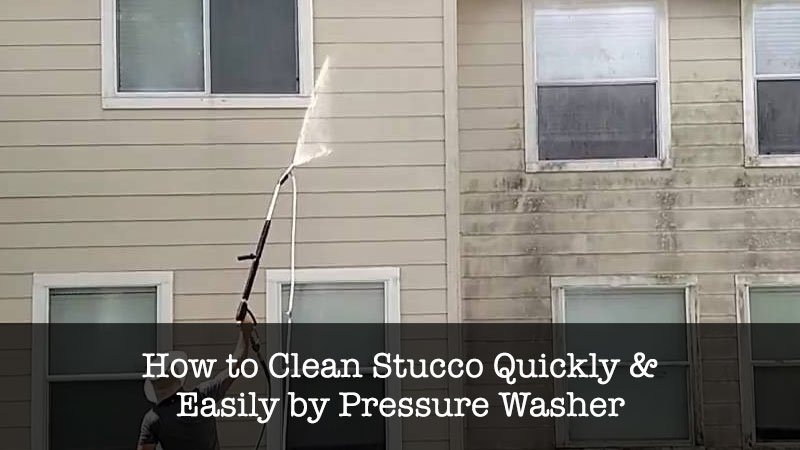
How To Clean Stucco Quickly And Easily By Pressure Washer

How to Clean Stucco

[lmt-post-modified-info]

When you are looking at how to clean stucco, there are several steps you need to take to get the job done right.

Using a pressure washer makes the job relatively quick and easy, but it is critical that you use the pressure washer correctly. This will ensure that all stains are removed and that you can keep your stucco looking like new.

Why Use a Pressure Washer for Clean Stucco

Stucco is a very porous and textured material, making it hard to clean. Dirt and grime settles into the stucco, leaving it discolored and looking dirty.

To get into the pores and remove all of the dirt and grime, you need to use something with power and this is where a pressure washer comes in. It is able to get into the areas of pores and texture to essentially force out the dirt and grime for a thorough cleaning.

Preparing for Clean Stucco

You will start by getting your pressure washer together and ready for the job. Next, inspect the stucco for problems, such as chips or cracks. It is important to avoid pressure washing these areas because it can make them worse.

You can avoid these areas during the cleaning, or better yet, fill them and allow this to set prior to using a pressure washer on your home. If you do fill first, you have to wait approximately one week before using a pressure washer on these areas.

how to clean stucco with Pressure Washers

The Cleaning Process

Start by diving your home into sections and do the detergent rinsing per section. When you clean a section at a time, this prevents the detergent from drying so that there is no leftover residue. It is best to apply the detergent from bottom to top and then rinse each section top to bottom.

This allows for all of the dirt and grime to go downward so that it does not re-stain the areas that you have already cleaned. Use a moderate PSI and a 20-degree nozzle to cleanse your house, both during the detergent and the rinsing stages.

Dealing with Stains and Rust

If you have areas of stains and rust, you will need a little more power to get the job done. After applying your detergent, use a rotating scrub brush to loosen up the stains and rust in the area.

Once you get to the rinsing, the stains and rust will rinse away. If they do not rinse away immediately, which is common with rust, you may need to scrub and rinse multiple times to fully remove it from your stucco walls.

As you can see, when it comes to how to clean stucco, using a power washer offers the easiest and most effective method. Just make sure to follow the steps in order so that you get the most effective clean.

This will allow the dirt and debris to cascade down so that you do not have to keep re-rinsing areas on your home.


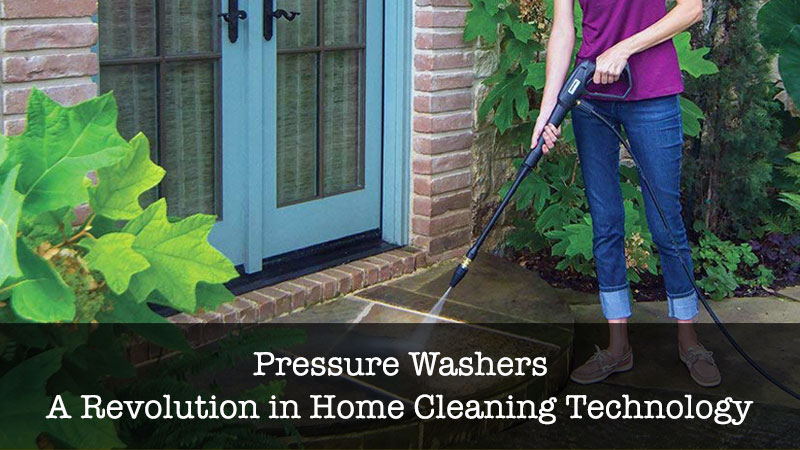
Pressure Washers: A Revolution In Home Cleaning Technology

Are you tired of moldy floorboards and dirty decking? Have you been itching to magically make all the grime from the roof of your house disappear?

Homeowners in the twenty first century are locked in a constant battle against the filth, dirt and dust that somehow manages to magnetically be drawn into our homes, invading our lives and contaminating our belongings.

While some have the time and energy to stay home, hold the fort and wage open war against all forms of dirt, most homeowners these days are too busy working, taking care of their kids or struggling to meet their social commitments.

But it’s a new era! We keep talking of modernization and many of us have already integrated technology into every aspect of our lives, and yet we refuse to test out any cleaning technology more advanced than a vacuum cleaner.

Well I’m here to talk about something far better, and far more efficient at cleaning the aforementioned parts of your house. It’s a simple cleaning hack that will change your life- buy yourself a pressure washer!

What is A Pressure Washer?

A pressure washer is an incredibly high powered water pump/ sprayer that is either diesel or electric powered and provides anywhere between 700 to 3000 psi (yes I know, that kind of pressure almost gives it weapon like capabilities- a normal pressure washer could fairly easily demolish a wooden barrel).

The point of this is not to terrorize your neighbor’s dog, but to fairly effectively clean most of those hard to scrub, hard to reach places around your home.

How to Set Up a Pressure Washer

set up a pressure washer
  1. Look around your pressure water for a set of inlets (metal holes for those of you who are confused with the word).
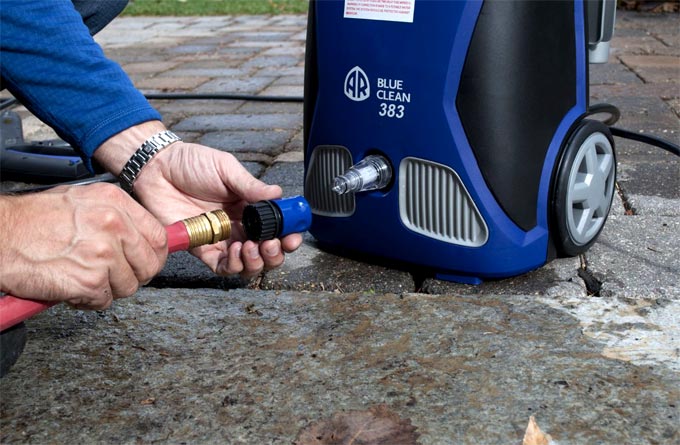
  2. Connect the high pressure hose to the inlet. The high pressure hose is usually supplied with most pressure washer models.
  3. Attach the garden hose to the water inlet. Ensure both inlets are securely tightened.
  4. Attach the spray gun or nozzle to the pressure washer (yes it’s time to stop playing Star Trek with it and actually hook it up!).
  5. If your pressure washer is gas based, ensure the fuel is full. If it is electric, ensure you have it plugged in and have turned the power switch on.
  6. Turn on the water supply and you’re ready to go. The trigger on the nozzle allows you to fire at will and most pressure washers usually come with different shapes and sizes that allow you to control the type of flow.

Cleaning With Your Pressure Washer

cleaning with pressure washer
  1. Choose the best pressure washer for the job. For most household cleaning activities, a pressure washer of no more than 1000 to 1500 psi is recommended, unless your cleaning vinyl or tiles. In that case a model of around 2000-2500 psi is recommended.
  2. Protect what you aren’t cleaning and anything delicate by covering it with a box or a heavy cloth. Make sure to get your electronics out of the way, because these things hit as hard as a storm trooper’s blaster.
  3. Mix a cleaning solution and decant it into the detergent dispenser. Remember, everything cleans faster with detergent.
  4. When washing walls and other surfaces, remember to stay at least 3 feet away.
  5. Use the surface cleaner add-on to effectively clean decking, floorboards or the driveway.
  6. Remember to adjust the power settings or nozzles when moving on to something new. You don’t want your pressure washer carving into the surface you’re cleaning.
  7. Never leave plugged in when you’re done cleaning. Always disconnect your washer and cover up.

Recommended Best Pressure Washers:


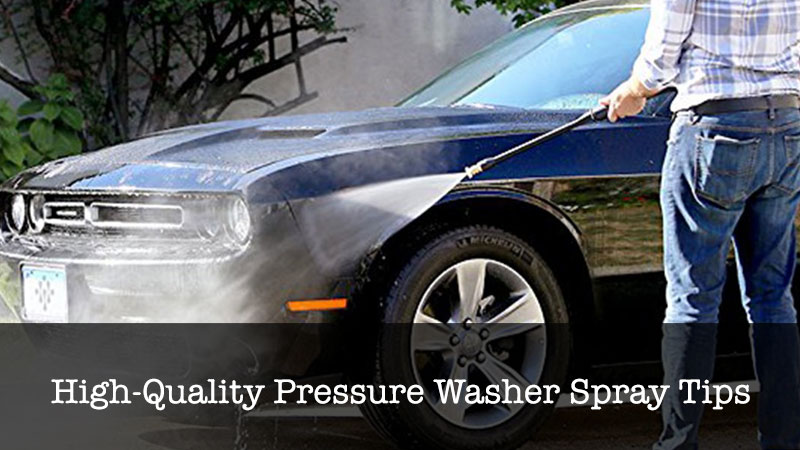
Choosing High-Quality Pressure Washer Spray Tips

High-Quality Pressure Washer Spray Tips

Pressure washers work to remove dirt and grime that other pieces of equipment cannot tackle. If you are not using the right spray tips for the job, you will find that the pressure washer is not adequately getting the job done.

There are some common tips that you can start using right now to ensure that you are always using the right tips on your pressure washer.

Quick Navigation

[su_row class=””]
[su_column size=”1/2″ center=”no” class=””]

[/su_column]
[su_column size=”1/2″ center=”no” class=””]

[/su_column]
[/su_row]

Types of Pressure Washer Spray Tips

Knowing the Differences Between the Pressure Washer Spray Tips

There are five primary spray tips that you can use on a pressure washer. It is critical that you know what each of these is for or else your pressure washing sessions will not be as effective as you need them to be. The following are the five tips that you have to choose from:

  • Red tips: These tips are the most powerful and they provide a zero degree spray pattern.
  • Green tips: These tips are best for cleaning things like brick patios, decks, walkways and outdoor furniture. They provide a 25-degree spray pattern.
  • Black tips: This tip allows for the most gentle spray of water and is generally used for rinsing. The spray pattern is 65 degrees.
  • Yellow tips: This tip is best for removing concrete stains and other heavy duty work. It gives a 15 degree spray pattern.
  • White tips: When you use a white tip, use it for cleaning soft stucco walls or siding on a house. It provides you with a 40-degree spray pattern.

Exploring the Various Nozzle Types

There are different nozzles in addition to the color-coded tips. All of these nozzles work differently and create different types of power for your pressure washer.

The types of nozzles include the following:

  • Rotary turbo nozzle: This nozzle increases the pressure of the water as much as 10 times more than normal.
  • Brass soap nozzles: This is a 500 PSI nozzle to rinse and apply wax and soap.
  • Sewer nozzles: These are designed so that you are able to clean in the corners of various pipes.
  • Duct cleaning nozzles: You will use this nozzle when you need to pressure wash things like ducts, vents, tanks, trash chutes and restaurant hoods.
  • Foam nozzles: You can use this nozzle on any surface when you need to dispense a thick disinfectant foam for cleaning.
  • Hi/low variable nozzles: These range from approximately 2,500 to 4,000 PSI in water strength. They are primarily used to dispense soap.
  • Power chem nozzles: When you need to spray chemicals, liquids and soaps through a chemical siphon at high pressure, this is the best nozzle.

Now you know what it takes to choose the best pressure washer spray tips for the job. Use these tips every time you are getting ready for a job and need to apply the right tip to your equipment.

Using the right tips ensures a higher level of productivity so that you can get the job done and move onto the next.